Clearing land that is overgrown with small trees and brush can be a daunting task, especially if you are new to it. However, with the right tools, plan, and approach, it can be a rewarding experience that opens up a new world of possibilities for your property. In this comprehensive guide, we will walk you through step-by-step instructions on how to clear the land of small trees and brush.
From the necessary tools and preparations to the clearing process itself, we will cover everything you need to know to safely and effectively remove small trees and brush from your land. So, roll up your sleeves, put on your safety gear, and let’s get started on transforming your property into the beautiful and useful space you envision.
Tools You Will Need
To clear the land of small trees and brush, you will need a variety of tools. First and foremost, a good quality chainsaw is essential for cutting down trees and thick brush. Additionally, a machete or brush axe is useful for cutting through dense undergrowth that the chainsaw cannot handle.
For smaller branches, lopping shears and pruning saws come in handy. It is also critical to protect yourself with gloves and safety gear, including a hard hat, eye and ear protection, and sturdy work boots. With these tools, you will have everything you need to tackle the task of clearing small trees and brush in your work area.
Chainsaw
A chainsaw is the primary tool for clearing large trees and thick brush. When selecting a chainsaw, you should consider the size of the trees in your work area and the frequency of use. If you plan to use the chainsaw often for larger trees, a gas-powered chainsaw with a bar length of 18 to 24 inches is recommended.
If you only need the chainsaw occasionally for smaller trees, an electric chainsaw with a bar length of 14 to 16 inches may suffice. It is essential to follow proper safety precautions when using a chainsaw, including wearing appropriate gear, such as gloves and hearing protection. Learning proper chainsaw techniques, such as maintaining a secure grip and proper stance, can also help prevent accidents.
Regular maintenance of the chainsaw, including sharpening the chain, tightening bolts, and cleaning the filters, will keep it in good condition and running smoothly. With the right chainsaw and safety measures in place, you can power through even the toughest trees and brush.
Machete or Brush Axe
A machete or brush axe is an essential tool for clearing land of small trees and brush. These tools are necessary for cutting through thick and stubborn undergrowth and vines. Machetes are typically long, narrow blades with a curved end that is perfect for slicing through vegetation. Brush axes, on the other hand, are shorter and have a wider blade with a sharpened edges for cutting through tougher woody brush.
Depending on your work area and the types of vegetation you need to clear, you may want to consider having both a machete and a brush axe. When selecting a machete or brush axe, consider the length and weight of the tool. Longer, heavier tools may be more efficient at cutting through dense vegetation, but they can also be more difficult to maneuver. It is also important to look for tools with sturdy, comfortable handles that provide a secure grip during use.
Keeping your machete or brush axe sharp is essential for efficient and safe use, so consider investing in a sharpening tool and regularly inspecting the blade. With the right machete or brush axe and a little practice, you will be able to make quick work of the stubborn underbrush in your clearing project.
Lopping Shears
Lopping shears are an essential tool for clearing the land of small trees and brush. They are designed to cut through branches up to 2 inches in diameter, making them perfect for trimming small branches and twigs. Lopping shears are also useful for cutting back small shoots and stem that is too thick for regular pruning shears.
These shears come in a variety of sizes and styles, with some featuring extendable handles to reach branches up to 20 feet high. When choosing lopping shears, it’s essential to look for sharp blades that can be easily sharpened when needed. It’s also important to choose the right size for the job at hand, as using a too-small lopper can damage the tool or result in a poor-quality cut.
Proper maintenance and care of lopping shears are critical to ensure their long-term usefulness and longevity. After use, they should be cleaned, sharpened, and oiled to prevent rust and maintain their sharpness.
Pruning Saw
A pruning saw is a cutting tool that is specifically designed to remove small branches and limbs from trees and shrubs. It is a hand-held saw with a sturdy blade that is thin and curved, allowing it to easily cut through dense vegetation. The pruning saw comes in different sizes, and the blade length varies depending on the thickness of the branches that need to be cut. When using a pruning saw, it is important to use proper cutting techniques.
Start the cut from the bottom of the branch, making a shallow groove to guide the blade. Once the blade is secure, the sawing motion can be started to cut through the branch without harming the tree. Always keep your other hand away from the saw blade and make sure to wear protective gear, including gloves and eye protection. With a pruning saw, you can easily remove small branches that may be obstructing your work area, providing a clear path for your clearing project.
If you’re in the market for the best professional chainsaw, look no further. We’ve got you covered with our latest article on ‘The Best Professional Chainsaw‘ Discover the top-rated chainsaws that are built to tackle even the toughest tasks. Whether you’re a seasoned professional or a DIY enthusiast, this comprehensive guide will help you make an informed decision.
Gloves and Safety Gear
When it comes to clearing land of small trees and brush, gloves and safety gear are crucial for your protection. Working with a chainsaw or machete can be dangerous and potentially life-threatening, so you must protect yourself.
First, invest in a pair of sturdy work gloves made of thick leather or other durable materials that can protect your hands from cuts, scrapes, and blisters. Additionally, wearing a hard hat can protect your head and face from falling branches and debris. Eye and ear protection are also essential to prevent debris from getting into your eyes and to minimize the risk of hearing damage.
Finally, it is critical to wear sturdy work boots with steel toes and slip-resistant soles to prevent foot and ankle injuries. By taking safety seriously and investing in high-quality gloves and safety gear, you can prevent injury, stay productive and complete your land-clearing project with confidence.
Preparing for The Clearing Process
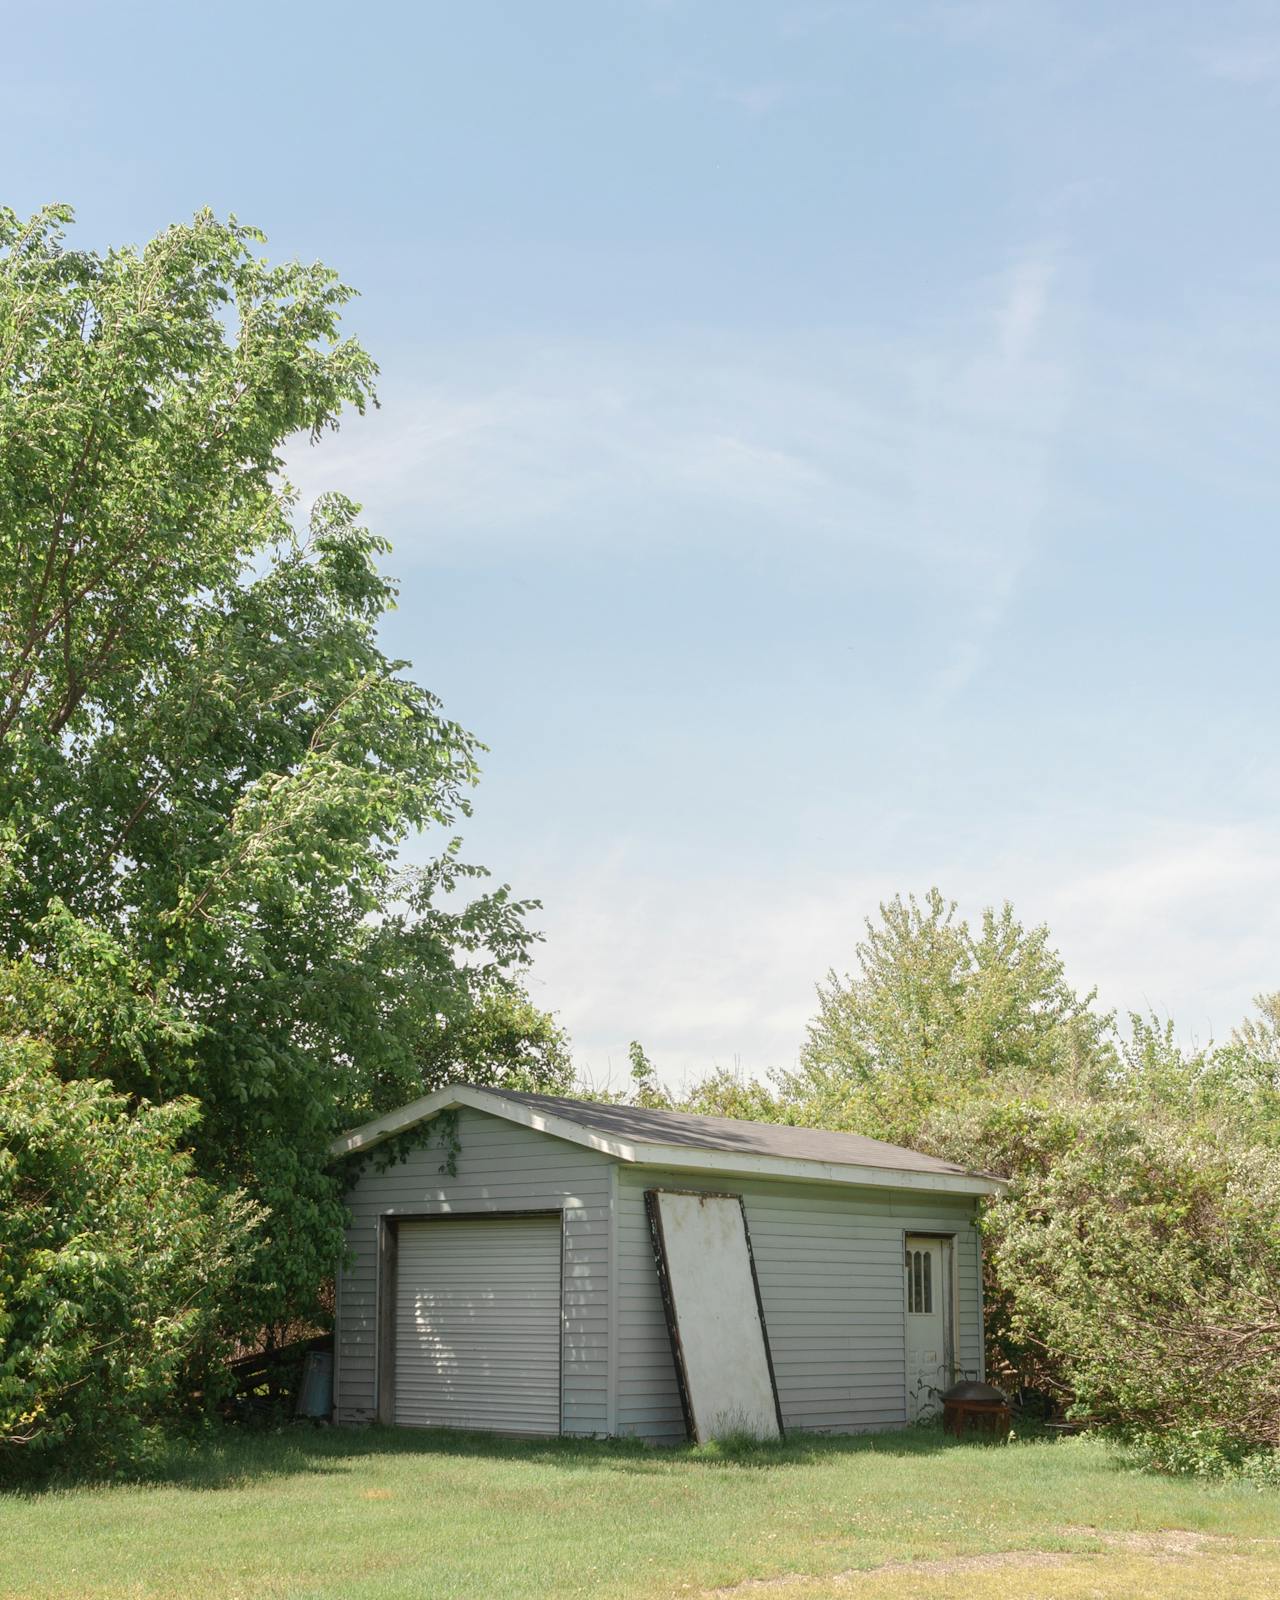
Before starting the clearing process, it is crucial to adequately prepare for the project. A good plan is essential for a successful outcome. Decide on the area you want to clear and the desired outcome. Will you be planting a vegetable garden, adding a pool, or building a shed in the cleared area? A clear vision of your goal will help guide and focus your efforts. After you’ve planned your project, survey the land to see the types of plants and trees in your work area, and to determine which ones need to be removed.
This will give you an idea of the time and effort required to complete the project. Also, make sure to secure necessary permits from your local government if required. With a solid plan, a survey of the land, and proper permits secured, you’ll be ready to begin the clearing process.
Plan Your Project
Planning is crucial before you begin any project, and land clearing is no exception. To start, consider what you want to achieve with your cleared land. Do you want to create a garden, a walking path, or expand your property? Having a clear vision will help you determine the extent of the clearing and the tools you need.
Once you have a vision, map out your work area, marking any permanent structures, such as buildings or walls, on a diagram. Determine how much of the area you want to clear and make note of any areas that are particularly dense with trees and shrubs.
Finally, sketch out a plan for the debris removal and decide what you will do with the cleared wood and brush. By taking the time to plan your project, you will have a clearer understanding of what you need to do, and you’ll be able to complete the job with greater efficiency and safety.
Survey the Land
Surveying the land is an essential step before you start clearing small trees and brush. Here are some key aspects to consider during the survey process:
- Safety hazards: Look out for potential safety hazards such as steep slopes, rocks, or other hazardous terrain that may make clearing the area difficult and dangerous.
- Property boundaries: Make sure you know the property lines of your land to avoid encroaching on your neighbor’s property.
- Environmental factors: Identify the flora and fauna present in the work area and ensure that the clearing process does not disturb the native ecosystem.
- Topography: Take note of the contour of the land to avoid damaging any natural water drainage paths that could result in erosion.
- Existing vegetation: Identify any trees or shrubs that you want to keep or protect during the clearing.
By surveying the land, you can evaluate the scope of work required, get a better picture of the resources you will need, and come up with a detailed plan for the clearing process. It also helps you avoid any potential issues that could arise during the clearance. Once you have conducted the survey, you can move on to the next step of preparing for the clearing process.
Secure Necessary Permits
Before you start the clearing process, it is essential to make sure you have all the necessary permits and permissions from local authorities. This is especially true if you are clearing land close to water bodies, wetlands, or other environmentally-sensitive areas. Here are some permits you may need to secure before you start your project:
- Environmental permits: Before removing trees or disturbing soil, you may require environmental permits from your local or state government to ensure that your land-clearing activities don’t harm the environment or nearby habitats.
- Land-use permits: Some areas may require land-use approvals for the type of use you’re proposing on your property. Check with your local zoning department to see if this is applicable.
- Right-of-way permits: If your work area is near a road, you may need a right-of-way permit from your state’s transportation agency.
- Building permits: If you plan to build any structures on your property or clear trees in advance of a construction project, you may need a building permit. Check with your local building department to confirm.
It’s important to note that permit requirements can vary by location and project. To avoid fines or other legal issues, it’s best to consult with the relevant authorities and obtain the necessary permits before starting your work. Beyond permitting requirements, it’s always important to consider the environmental impact of your land-clearing activities and take measures to minimize any harm to natural ecosystems.
Clearing Small Trees and Brush

Clearing small trees and brush is a process that requires patience, skill, and attention to detail. Before starting, it is essential to begin at the edges of the work area and work your way inwards. This approach provides increased maneuverability and reduces the likelihood of getting stuck.
Cutting down small trees requires a chainsaw, and it is essential to take your time and ensure that the tree falls in a safe direction. For small branches and undergrowth, a machete or brush axe can be used to cut through the thicket. Once the trees and brush have been removed, the debris must be disposed of accordingly.
This process involves bundling the small trees and brush into piles and then removing them from the work area. By following these steps, you will successfully clear the land of small trees and brush and leave your work area clean and free of debris.
Start at The Edges of Your Work Area
Starting at the edges of your work area is a critical step in the clearing process. It allows you to create a defined boundary and gradually work your way toward the center of the property. Begin by marking off a clear perimeter using boundary tape or spray paint.
Once you have a clear boundary, start cutting down trees and brush along the edges. Work your way outwards, cutting a strip of 10 to 15 feet at a time. Once you have cleared the edges, move on to the middle of the work area. Avoid clearing the center of the property first, as clearing the edges first will give you a clear path for debris removal.
Keep in mind that it is crucial to take breaks as needed and avoid overexerting yourself. Ensure that you stay hydrated throughout the process, especially during hot weather conditions. By starting at the edges of your work area, you can create a clear pathway to work efficiently and safely remove small trees and brush from your property.
Cut the Small Trees Down
When it comes to cutting down trees, safety should always be the main priority. Before starting work, make sure to put on safety gear, especially a hard hat, and eye protection. Then, begin by selecting the smallest tree first and cut a notch in the side of the tree that is facing the direction you want it to fall.
Next, move to the opposite side of the tree and cut through the trunk, keeping the blade level and aiming to meet the notch. Once the tree has started to fall in the desired direction, quickly move out of the way and keep a safe distance until the tree has completely fallen. Repeat this process with all small trees in the work area. If the trees are standing close to each other, cut the branches off carefully to avoid causing damage to the nearby vegetation.
It is important to keep in mind that removing trees from the land can have an impact on the soil quality and other plants in the area. If the small trees are part of a larger natural ecosystem, consider utilizing them for firewood or hire a professional service to transplant or relocate the trees. By clearing small trees responsibly, you can simultaneously maintain the balance of nature and make room for your project.
Cut the Brush and Shrubs Down
Cutting brush and shrubs down is a critical step in the process of clearing land. It is best to start by removing large branches and limbs with the chainsaw, taking care to work in a safe and controlled manner. The machete or brush axe can then be used to cut through the dense undergrowth that the chainsaw cannot tackle.
When using the machete or brush axe, be sure to use a chopping motion rather than a swinging motion to avoid injury and maximize efficiency. For small to medium-sized shrubs, lopping shears or pruning saws are suitable tools. These should be used to cut each branch as close to the ground as possible, taking care not to damage the surrounding vegetation or terrain. It may be necessary to make multiple cuts at different angles to fully remove the shrub. It is essential to clear all the debris after cutting down brush and shrubs.
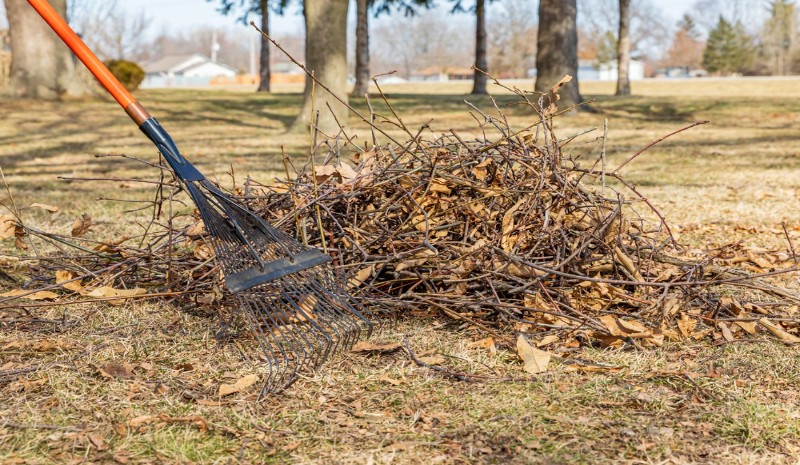
This includes not only the branches and leaves but also the roots. A root grubber or mattock is helpful for removing the larger roots, while a garden rake can help gather the smaller debris. The debris can be disposed of in a compost pile or hauled away depending on the size of the cleared area and your specific needs.
The process of cutting down brush and shrubs requires focus, patience, and attention to detail to achieve the desired results. With the right tools, technique, and care, you can successfully clear the land of small trees and brush and create a more open, usable space for your needs.
Remove the Debris
Removing the debris is a crucial step in the process of clearing small trees and brush. Here are some steps to follow to ensure that you are safely and effectively removing debris:
- Stack the debris in a designated area: Once you have cut down the trees and brush, it is important to stack the debris in a designated area. This will make it easier to remove and dispose of properly.
- Separate the items that can be reused or repurposed: If you are environmentally conscious, you can separate the debris items that can still be reused or repurposed. These items include tree limbs, branches, and logs that can be transformed into firewood or mulch.
- Recycle, reuse, or dispose of the remaining debris: After you have separated the reusable debris, you should recycle or dispose of the remaining debris. Depending on the amount of debris you have, you may need to rent a dumpster or hire a waste management company to remove it.
- Clean up the work area: Once you have removed the debris, it is important to clean up the work area thoroughly. Make sure to remove any remaining brush or small debris to prevent trip hazards or potential fire hazards.
By following these simple steps, you can safely and efficiently remove debris from your work area, leaving you with a clean and safe space to work in. Remember to always prioritize safety and wear appropriate safety gear when handling debris.
Clean-Up After The Clearing
After you have completed the clearing process, it’s time to clean up the work area. This includes removing the stumps of the trees you have cut, grinding any remaining roots, and inspecting the area to ensure safety. One effective way to remove stumps is to use a stump grinder, which grinds the stump down to below-ground level.
Alternatively, you may opt to remove the stump manually with a shovel or pickaxe. Once the stumps are gone, grind away any large roots to prevent tripping hazards.
Finally, inspect the area thoroughly for any stray branches or other debris to ensure it is safe for use. With proper clean-up, your newly cleared land will be ready for whatever project you have in mind, whether it’s building a garden, constructing a shed, or simply creating a more open space.
Looking to grow tomatoes in your garden? We’ve got you covered! Check out our latest article on ‘7 Best Growbags for Tomatoes‘ for expert recommendations and insights. Discover the top-notch grow bags that will enhance the growth and yield of your tomato plants.
Remove The Stumps
To completely clear the work area, you will need to remove any stumps left behind after cutting down the trees. Leaving stumps can cause issues such as regrowth and obstacles to mowing and tilling the area. Here are several methods for stump removal:
- Stump Grinder: A mechanical stump grinder is the easiest and most efficient way to remove stumps. These machines use powerful rotating discs with carbide teeth to grind the stump into small pieces that can be used as mulch or simply removed. This method is typically the most expensive but can save a lot of time and physical effort compared to other methods.
- Chemical Stump Remover: Chemical stump removers can be purchased at most hardware or garden stores. These products contain chemicals that accelerate the natural decay process of the stump, making it easier to break apart and remove. This method requires patience as it can take several months for the stump to decay entirely.
- Hand Digging: For smaller stumps, hand digging can be effective, especially if you have time and physical capabilities. Using a shovel and pickaxe, dig around the stump, then pull or pry it out of the ground. This method can be time-consuming and physically demanding, especially for larger stumps.
- Fire: Burning the stump and roots is another option, but it requires caution and supervision. To do this, drill several holes in the top of the stump to fill it with flammable substances like kerosene. Once the stump has absorbed the flammable liquid, ignite it and let it burn. However, this technique is not recommended unless you are experienced in handling fire and take proper safety precautions.
Whichever method you choose, ensure the stump is entirely removed from the ground, so it does not cause problems later. Once you have removed all stumps in the work area, you have successfully completed the land-clearing process.
Grind The Remaining Roots
After removing the stumps, there may still be some roots remaining in the ground. These roots can cause problems for future projects or become hazards if left unaddressed. To grind the remaining roots, you will need a stump grinder. This machine works by using a rotating disk with carbide teeth to grind the stump and remaining roots into small wood chips.
Before you start grinding, make sure the area is free of debris and any obstacles that may interfere with the stump grinder’s operation. Begin by positioning the machine over the roots and slowly grinding them down in small increments. It is crucial to wear protective gear during this process, including ear protection and gloves.
Grinding roots is a time-consuming task, and the amount of time required depends on the size and density of the roots. Once the grinding is complete, take care to remove any wood chips or debris that may be left behind. These can be used as mulch for future landscaping projects or disposed of according to local regulations.
Grinding the remaining roots is a critical step in the land-clearing process and ensures that the area is safe for future projects. With the right preparation and equipment, you can effectively grind the remaining roots and put the finishing touches on your land-clearing project.
Inspect the Work Area
Inspecting the work area is the final step of the land-clearing process. It involves a thorough examination of the now cleared space to ensure that all debris has been removed, and the area is safe for use. Begin by walking around the area to check for any leftover stumps, roots, or branches that may have been missed during the previous steps.
Look for any hazardous spots or uneven terrain that may need further attention. Ensure that the space is clear of any leftover logs or brush piles that may pose a risk of fire hazard. Inspect the area for holes or exposed roots that may lead to tripping or falling.
Finally, check for any damage to surrounding trees or structures that may have occurred during the clearing process. Once you have completed this step, your cleared land is now ready for use!
Looking to transform your garden into a stunning oasis? We’ve got you covered! If you’re planning any landscaping or irrigation projects, you won’t want to miss our latest article on the ‘7 Best Trench Digging Tools for Your Garden.’ Whether you’re a seasoned gardener or just starting out, these tools will make your trenching tasks a breeze.
Conclusion
Clearing small trees and brush from your land may seem overwhelming, but by following the steps outlined in this guide, you can do it safely and efficiently. Remember to always prioritize safety when using tools, and to take the time to properly plan and prepare for your project.
With the right tools, approach, and mindset, you can transform overgrown areas into beautiful and productive spaces that meet your specific needs. If you encounter challenges along the way, don’t hesitate to seek advice from professionals or experienced DIY resources.
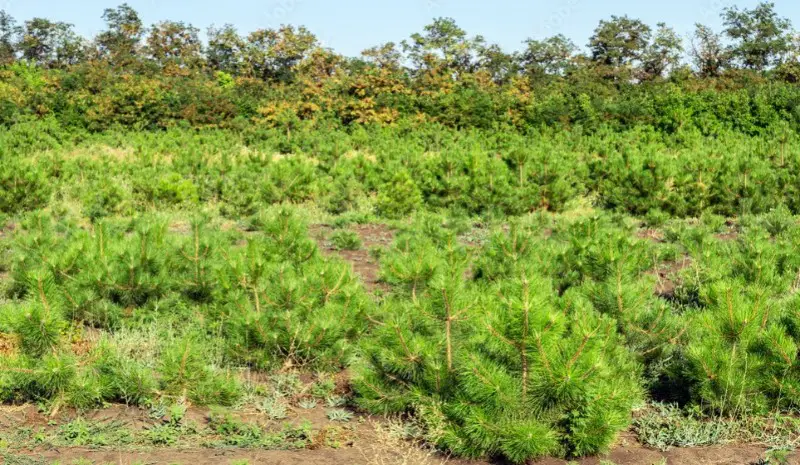
Additionally, once the clearing process is complete, you may want to consider using the cleared space for agriculture, gardening, or other landscaping projects. With a little creativity and hard work, the possibilities are endless.
Frequently Asked Questions
What is the best time of year to clear land?
The best time of year to clear land depends on your area and climate. However, generally, it is best to wait until the growing season is over and most of the leaves have fallen. This will make it easier to see what needs to be cleared and reduce the risk of disturbing nesting birds or other wildlife.
What is the best way to dispose of the debris?
The best way to dispose of the debris depends on your area’s regulations. However, options include burning or chipping the waste, hauling it to the landfill, or mulching it for use in landscaping or gardening.
How far away should you clear brush from a building?
It is recommended to clear brush at least 30 feet away from any building to help prevent fire danger and discourage pests like rodents and insects from nesting near the structure.
Do you need a permit to clear the land?
Yes, in many areas, you will need a permit to clear land. Before starting your project, it is important to research your local laws and regulations and secure any necessary permits.
Should you remove stumps after clearing the land?
It is recommended to remove stumps after clearing the land to prevent tripping hazards, discourage insects and rodents, and make future landscaping or building projects easier.
How can you prevent erosion during the clearing process?
One way to prevent erosion during the clearing process is to leave a buffer of vegetation near any waterways or slopes to help reduce soil runoff. It is also important to avoid working on steep slopes or in wet conditions.
Can you clear land with hand tools only?
While it is possible to clear land with hand tools only, it can be a difficult and time-consuming process. Using power tools like a chainsaw can make the job much faster and more efficient.
What should you do if you encounter protected animal species during the clearing process?
If you encounter protected animal species during the clearing process, it is important to stop work immediately and contact your local wildlife agency for guidance. Disturbance or harm to protected species can result in hefty fines and legal repercussions.
Can you reuse the cleared land for farming?
Yes, after clearing the land, it can be used for farming, gardening, or other desired purposes. It is important to properly prepare the soil and consider factors like sunlight and drainage before planting seeds or crops.
How long does it take to clear land of small trees and brush?
The time it takes to clear the land of small trees and brush depends on various factors such as the size of the area, density of growth, and tools used. However, clearing a small acreage could take anywhere from a few days to a few weeks, depending on the complexity of the project.