The kitchen cabinet is highly exposed to dirt, bacteria, and germs. Therefore, you should perform thorough cleaning regularly to prevent parasite and germs infection, according to The Department of Health. But do you know how to clean kitchen cabinets properly? Well, we all understand that the cleaning process is not always as easy and fast as we want it to be, but note that an average cleaning alone won’t kill the existing microorganisms. For this reason, you need specific tips to eliminate germs and bacteria, which include sanitizing and disinfecting.
However, with this guide, I assure you that your cleaning will not only be easy but it also won`t be time-consuming anymore! Here, you will get a chance to learn how to clean different surfaces using commercial and home-made products. Besides that, you will learn how to apply every cleaning method for dirt-free kitchen cabinets. So, let’s get started and ensure you get the best out of your cleaning process.
Cleaning Your Kitchen Cabinets – the Best Time to Clean the Interiors
Whereas many people find themselves spot cleaning the cabinets daily, any extensive or thorough cleaning should be done at least weekly. During the cleaning process, ensure you empty the cabinets as this will ease the practice and protect foodstuffs from contamination.
Likewise, make sure you disinfect the surfaces to kill microorganisms. However, it is important to perform deep cleaning at least 4 times a year, when you treat every part, especially the corners, and restock after the interior is dry. During the general cleaning process, you should focus on removing all dirt, and below you will find the supplies that will definitely come in handy.
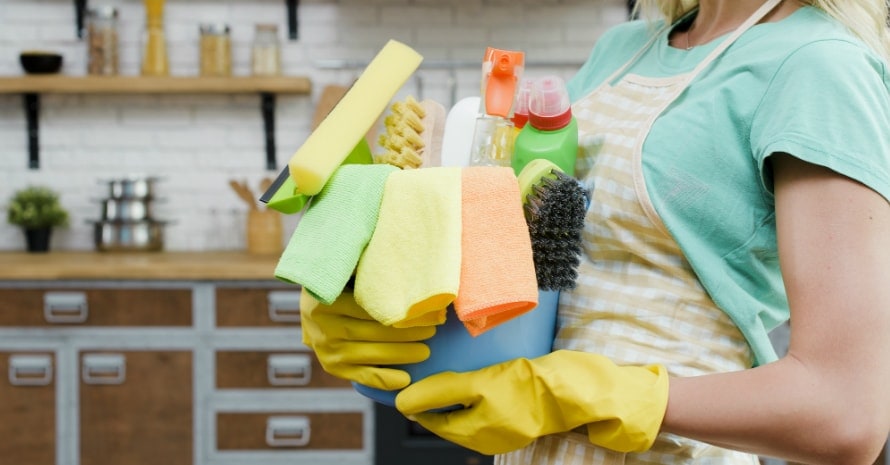
Supplies
The materials to use highly depend on the type of surface you are working on, but here are the best universal products you need to have for general cleaning of kitchen cabinets. Note that vinegar and baking soda are optional products, you can cope without them.
- A microfiber cloth
Affiliate links and images placed from the Amazon Product Advertising API on 2024-07-26
- Detergent and water
Affiliate links and images placed from the Amazon Product Advertising API on 2024-07-27
- All-purpose cleaner
Affiliate links and images placed from the Amazon Product Advertising API on 2024-07-26
- Vinegar
Affiliate links and images placed from the Amazon Product Advertising API on 2024-07-27
- Baking soda
Affiliate links and images placed from the Amazon Product Advertising API on 2024-07-27


Cleaning Your Cabinet’s Exterior
Dust easily accumulates on the surface as you mop and sweep the floor. Besides that, leaving your kitchen window open can easily lead to the accumulation of dust on the surface. However, dusting with a piece of dry cloth will help to remove the dust. After dusting, here’s the cleaning procedure to follow;
- Make a good solution of detergent and water. Use a moistened piece of cloth to wipe your cabinet exteriors. The main tip here is to use a degreasing detergent as it will remove all greasy spots. Wipe gently to prevent damaging the surface. Wondering where to use the all-purpose cleaner? Well, some cleaners aren’t suitable for use on cabinets’ exteriors as they may tamper with the finishing, especially when it comes to wooden cabinets.
- Make sure you start at the highest point going down. This will result in spillage in spots that you haven’t cleaned yet, and as you move down, you will wipe those spots. Highly concentrate on the edges and corners as that’s where the major dirt might accumulate.
- Make sure you have rinsed the surfaces thoroughly and use a dry piece of cloth to wipe the exterior. Note that water drops left on some surfaces can cause damage.
- If you are cleaning a mirror-surface, make sure you use the appropriate cleaners. Additionally, do not spray directly the mirror, instead, put a considerable amount of the cleaning product on a piece of cloth and wipe the surface gently.
- Finally, note that the handles and knobs are the part of your cabinet’s exterior, so wipe and disinfect them accordingly. You can use an ideal solution of vinegar and water to clean these parts.
A Guide on How to Clean Inside Kitchen Cabinets
The most important step here is ensuring the cabinet is empty before cleaning. This not only keeps your goods safe from contamination but also eases the cleaning process.
- Vacuum the cabinets in case they contain a lot of residues. However, those without a vacuum cleaner can wipe the shelves as this still works perfectly for all.
- Use warm water and detergent to clean the interior of the shelves, as this removes grease and doesn’t damage the surfaces.
- After wiping with a moistened cloth, use a dry duster to drain the water that might be left on the surface. Note that inappropriate drainage will end up damaging the interiors and may result in food contamination.
After cleaning, it is important to leave the cabinet open for a few hours, as this will result in further drying. Stocking immediately can result in a dump shelf. Finally, when cleaning the shelf’s interior, do not use olive oil as it is non-drying and can lead to more dust accumulation.
A Step-By-Step Guide on How to Clean Greasy Kitchen Cabinets
Grease is easily noticeable but very hard to remove once it sticks on the surface. However, using an ideal grease removing detergent can ease your cleaning process, especially if the product is allowed to rest on the grease surface for about 5 minutes.
Additionally, if you are wondering how to clean kitchen cabinets grease, a mixture of baking soda and water is a viable grease removing option, especially when a brush is used. However, you must ensure you clean the surface gently as vigorous scrubbing can result in damage, especially when it comes to painted and wood surfaces. All in all, here are the main products that work ideally for those wondering how to clean grease from kitchen cabinets.
- You can use commercial grease cleaners, but make sure you allow the substance to rest on the surface for a few minutes. Heat a moistened piece of cloth for about 40 seconds, and use it immediately to wipe the sticky surface. Use water and detergent to perform a thorough cleaning, and ensure you dry the surface to perfection.
- You can use an all-purpose cleaner, but note that there’s a slight lag in effectiveness, as you will have to leave the cleaning substance on the surface for about 10 minutes. Then use warm water and soap or a warm moist cloth to wipe the grease. Dry the surface thoroughly.
- Use hot water and detergent, as this might be the most accessible and practical means for many people. You can use a considerably rough piece of cloth, but make sure you scrub the surface gently to avoid damages. Rinse to perfection and dry the surfaces with a dry piece of cloth. Leave them open for about 2 hours before restocking.
That said, there are a few products you need to avoid when it comes to grease removal. One of those items is vinegar, as it can ruin wood finishes when used in high concentrations. Additionally, make sure you test commercial cleaners on a hidden surface before using them because some might corrode your kitchen cabinet surface or cause the paint to peel off.
How to Clean Wood Kitchen Cabinets – a Step-by-Step Guide
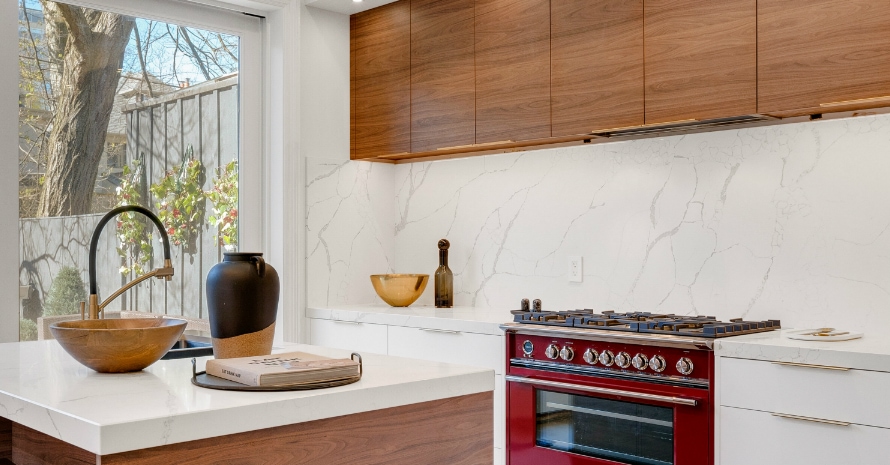
Wooden cabinets get dirty fast and can be easily damaged by you regularly spilling liquids when cooking. Therefore, you need the best cleaning practices and, more importantly, to make the practice regular and systematic. Luckily enough, with the upcoming guide on how to clean wooden kitchen cabinets, you are assured of an easy and time-saving cleaning process.
The main ingredients to use here are the approved commercial cleaners, although home-made cleaning products are easy to make and highly affordable. Keep in mind that you should only use eco-friendly, effective, and toxin-free ingredients.
One of the commonly used products to clean wood kitchen cabinets is a mixture of vinegar and warm water. Make sure you clean after the product rests on the surface for about 3 minutes. You can also add a few drops of your cleaning detergent to make the product even more effective. So, with this highly efficient mixture, here’s how to clean greasy wooden kitchen cabinets.
- Wipe the exterior and handles using a moist cloth but ensure you do it gently. A soft cloth is ideal to use as it won’t tamper with the wood finishing.
- Use the moist and soft cloth to wipe the interiors in a way that won’t leave marks or scratches.
- Remove water from the surfaces by using a dry piece of cloth or a cleaning towel.
The process is relatively simple when there are no stains on the surface. However, here’s how to clean sticky wood kitchen cabinets, and those with hard-to-remove stains.
- Make vinegar and salt paste.
- Use a brush to spread the paste on the surface and scrub gently.
- Rinse and dry the surface
Additionally, you can clean with baking soda, but in this case, you only need to spread baking soda on the surface and scrub using a brush. Finally, you can use a mixture of vinegar and olive oil. Apply this on the surface and scrub gently. However, avoid vigorous scrubbing as this will end up damaging the surface.
How to Clean White Kitchen Cabinets – the Ultimate Guide
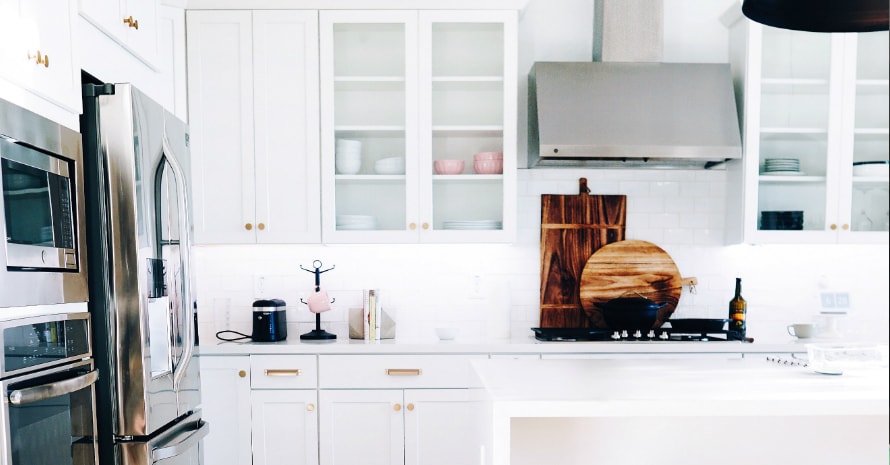
White cabinets are stylish and highly attractive to all, including dust. Keeping such a surface dirt-free requires dedication and routine cleaning, as stains are easy to notice from a distance. You don’t want to have an elegant interior that you can’t maintain, and you also don’t want to have a stressing surface to work on. Fortunately, here is the ideal way of keeping your white cabinet stain-free, and more importantly, how to clean sticky grease off kitchen cabinets.
- Make sure the white surface is ideally shielded from direct sunlight – use curtains or tainted windows as direct sunshine will make your white interior turn yellow.
- Always keep the exhaust fan open – grease might accumulate as a result of cooking, and this will cause staining.
- Use vinegar and baking soda – make a solution containing two tablespoons of baking soda, a cup of vinegar, and two cups of warm water. Moist a piece of cloth using the solution and use the wet piece of fabric to wipe the surface. Make this a monthly routine.
- Soak the sink in bleach for about 30 minutes. Remove the water and rinse with warm water. You can also soak the sink in lemon juice and club soda in place of bleach.
- Use a 1:3 mixture of baking soda and soap to remove the stains on the surface. Scrub with a nylon brush and rinse with warm water.
Avoid scrubbing vigorously as this will leave marks on your white surface. Do not use an abrasive pad to clean a stain on a white surface. Additionally, make sure you dry all water as dirty water left on the surface will cause staining.
A Guide on How to Clean Painted Kitchen Cabinets
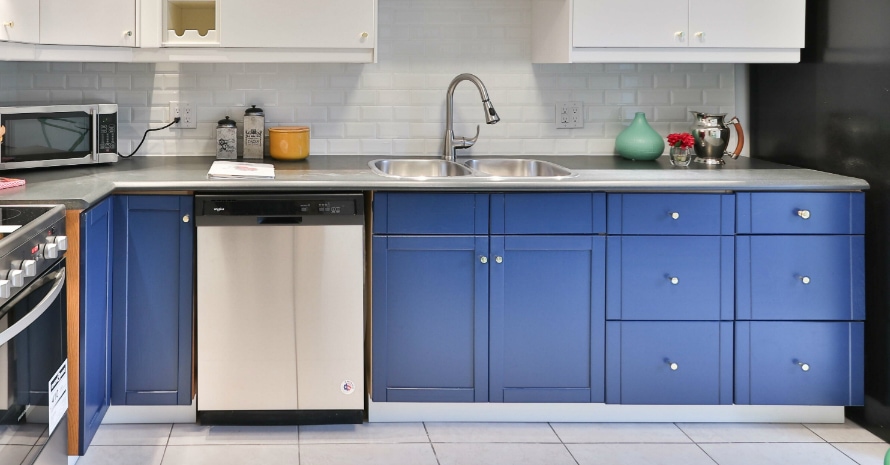
You need to make sure the cleaning process doesn’t leave marks or scratches on the surface. Fortunately, the method to apply here is straightforward and will leave the surface in the perfect condition and sparklingly clean.
- Use a mixture of water and baking soda, in a ratio of 1:2. Spread it on the stains and leave it for 3 minutes. Use a moistened piece of fabric to wipe the baking soda-water mixture gently. Use a dry duster to remove the water that might remain after wiping with the wet cloth.
- If you are still wondering how to clean grease off kitchen cabinets using other home-made and easily affordable solutions, use a moistened piece of fabric, dipped in ammonia. Wipe the surface until the dirt or stain is gone. Ensure you do this gently, to prevent scratching or peeling of the paint.
- Make sure you consider repainting the surface after several years of cleaning, to keep your kitchen cabinets stylish.
That said, ensure you don’t use acidic solutions such as vinegar as they might corrode the surface and tamper with the painting. Additionally, wipe gently and do not scrub as this will leave marks on the surface.
How to Clean Oak Kitchen Cabinets – the Best Practices
Oak kitchen cabinets are not stressful to clean, despite the fact that they get dirty easily. Anytime the finish is in good condition, rest assured the process is swift and straightforward, as water will not affect the wood.
- Remove dust from the surface.
- Mix water and detergent.
- Use a microfiber cloth to wipe the surfaces.
- Rinse the surfaces and dry them with a soft fabric.
- Make a mixture of water and vinegar, in similar proportions, and wipe using the same procedure.
- Use a brush, dipped in the mixture, to clean those hard-to-reach surfaces, including the edges and hinges.
- You can also use baking soda. Make a paste, use a toothbrush to spread it on the surface, and scrub gently.
- Do not forget to rinse and dry perfectly.
However, when cleaning oak kitchen cabinets, avoid using high-pH solutions, such as ammonia, as these will damage the finish. Additionally, do not use liquid cleaners on damaged surfaces as they will end up getting absorbed.
Conclusively, keeping your kitchen clean and the cabinets stain-free requires a bit of dedication and routine maintenance. White and colored surfaces are stylish, but you will easily spot stains from a long distance. Keep in mind that you’d better clean the cabinets at least once a week and perform a thorough cleaning at least 4 times a year.
All in all, ensure you avoid using abrasive materials as these will cause more damage, which is really expensive to repair. Use home-made solutions, but choose only those that are highly effective and eco-friendly. Read the manufacturer’s instructions and mix the products in the right proportions.
Apply the stated tips for optimal results as you keep your kitchen cabinets dirt-free. Hope, you find this article useful! So, are you wondering how to keep your kitchen surfaces free of germs and bacteria? Well, comment in the section below, share your thoughts and tips; next time I will provide you with a guide on how to disinfect your kitchen cabinets!